Mural Project
Designing joy with an eye to the future
Introduction
A commission by a private client for their soon-to-be-born baby’s room, I wanted to record my work and show the process behind the creation of a one-of-a-kind design.
Goal
It was important that this mural design not only reflect the joy of new life, but also the baby’s growth in the room. In addition, resale value of the house was a consideration, so creating a piece of work that could be neutral enough for future buyers was also a design factor.

My Role
I designed and installed this mural. The entire project took 40 hours, including 30 hours for installation.
Research Process
Client Design Meeting
An initial conversation with the clients helped me understand their goals and parameters for the project. The client provided design guidance with a few saved inspiration images from their personal files.

Site Visit
During my site visit, I took measurements, assessed the space, and got to understand more about the client’s style and needs. Key takeaways I highlighted were a design that brought clean simplicity, but with whimsy.
Also, the clients wanted the crib to sit centered beneath the window, so I knew I needed to have my design reflect this shape, as well as when the child grows and the crib is gone.

Peer to Peer Consulting
I sought professional advice from my peer Mary Thiefels of Treetown Murals, who advised me on installation best practices.
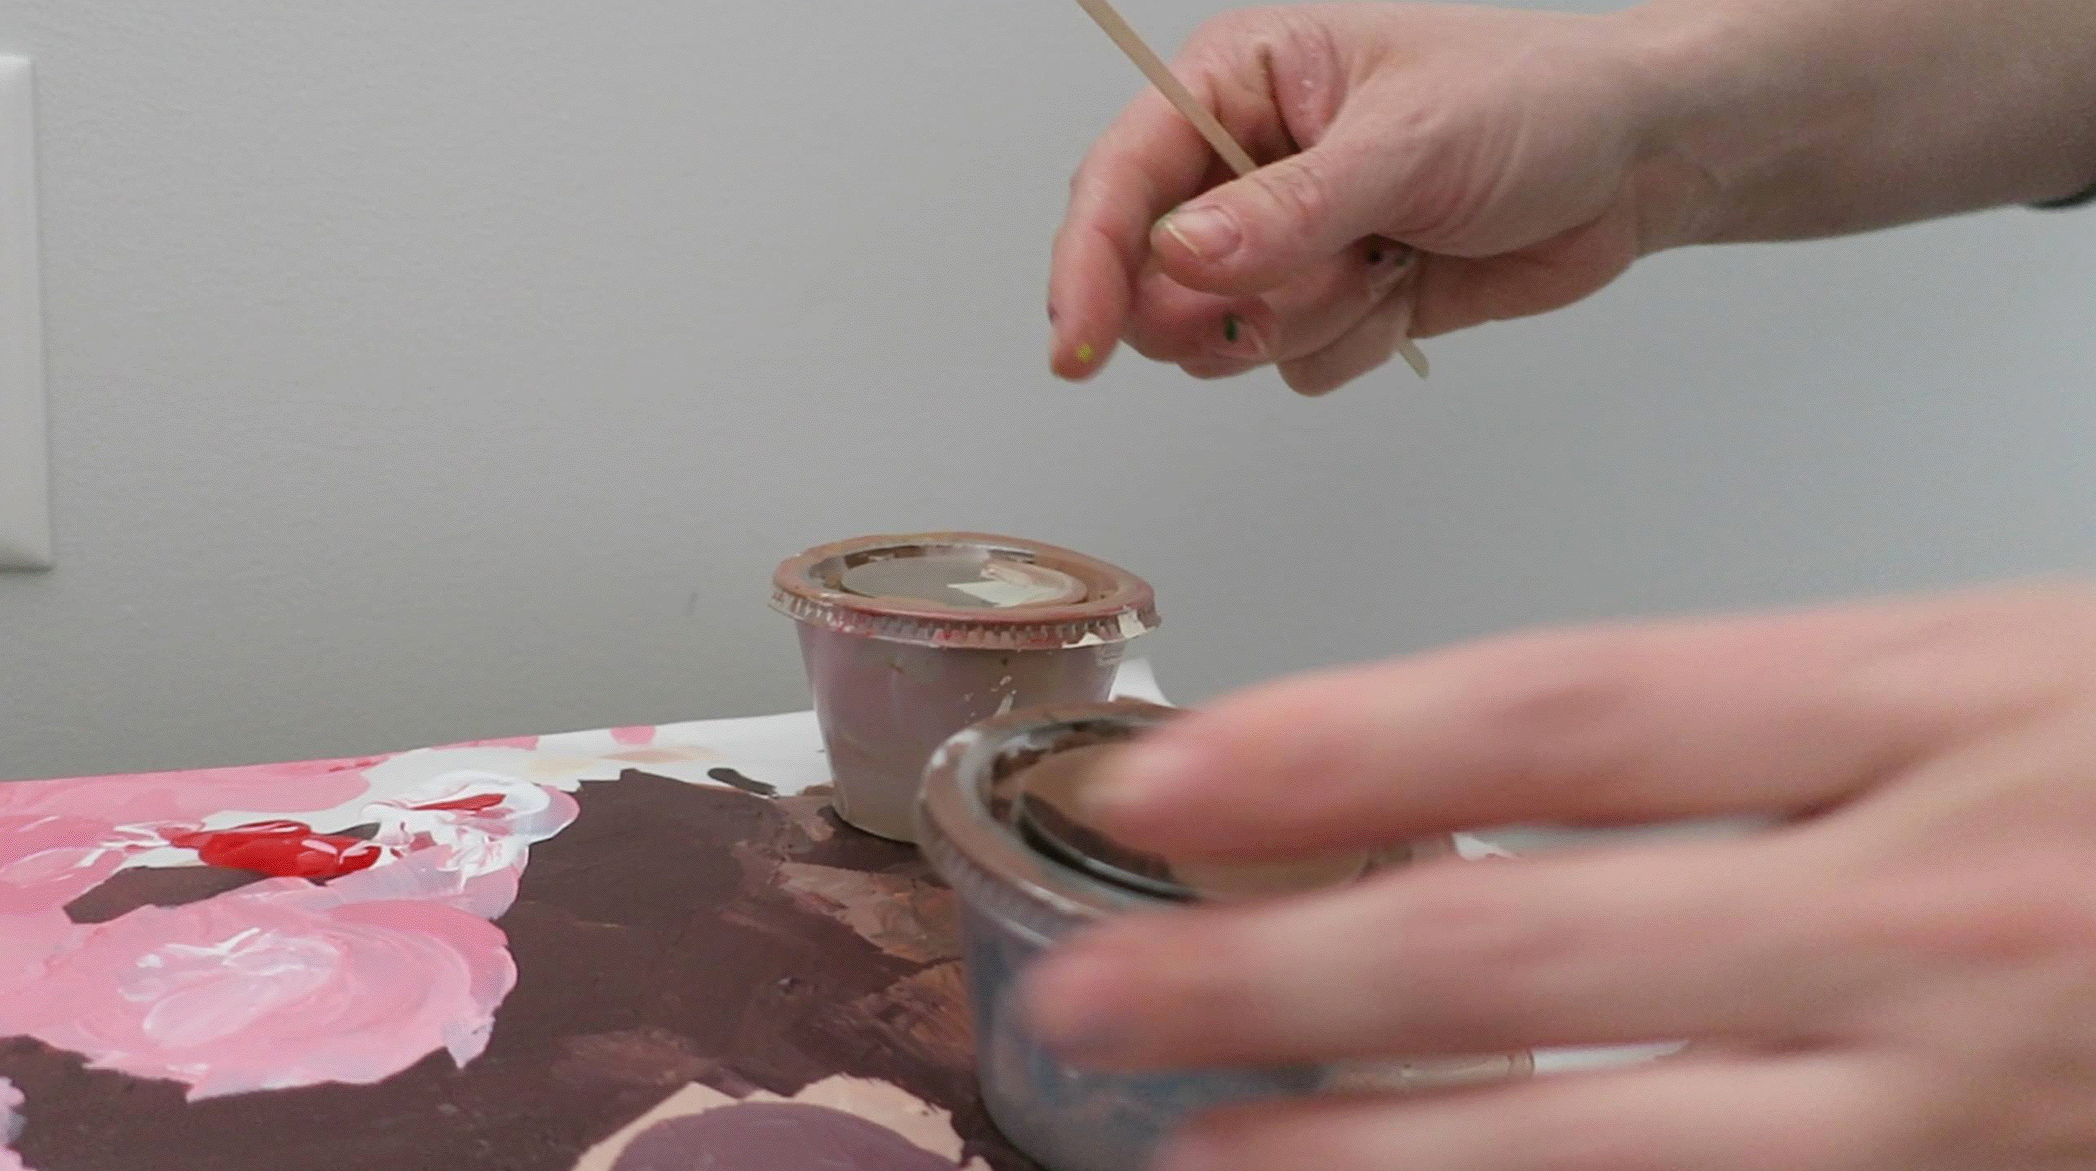
In addition, I rented the Treetown Murals paint and supplies for installation. Beforehand, Mary assisted with mixing pigments to match a print-out of the digital rendering. This way, painting and mixing colors in situ would be as easy and (not messy!) as possible.
Design Process
Low Fidelity Sketches
Based on the client’s desires and future needs, my goals were to create a functional design that:
offered pops of color that frame the crib that would sit directly under the window,
while reflecting how the space will change as the child grows and the crib is moved, that the wall would still look beautiful and intentional.
In addition, I wanted the design to be stylistically neutral enough that it would go with the family’s evolving style,
as well as neutral enough for the possibility of resale value when considering future families living in the space.
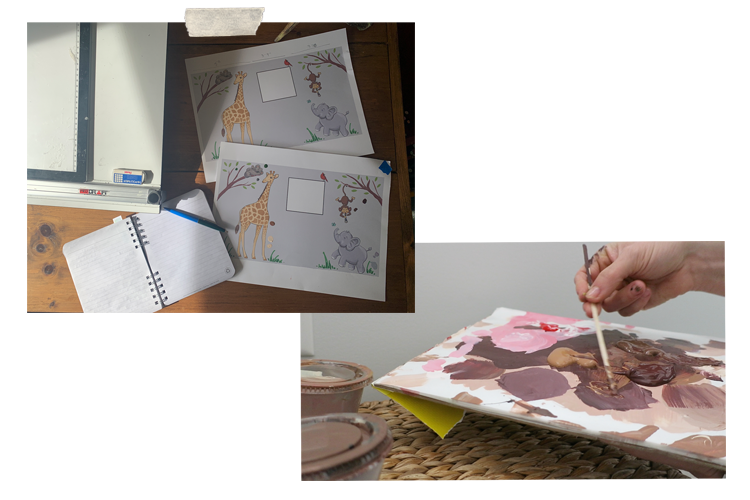
I used a lightbox to make edits to the paper and pencil sketches based on the client’s feedback of the first design round.

Digital Mockup
Understanding that it’s imperative for the client to see a high-fidelity mockup before agreeing to a final design, I quickly got to work on creating a digital file through Procreate. Here is a sped up timeline of my process.
The client’s finalized the design after this iteration.
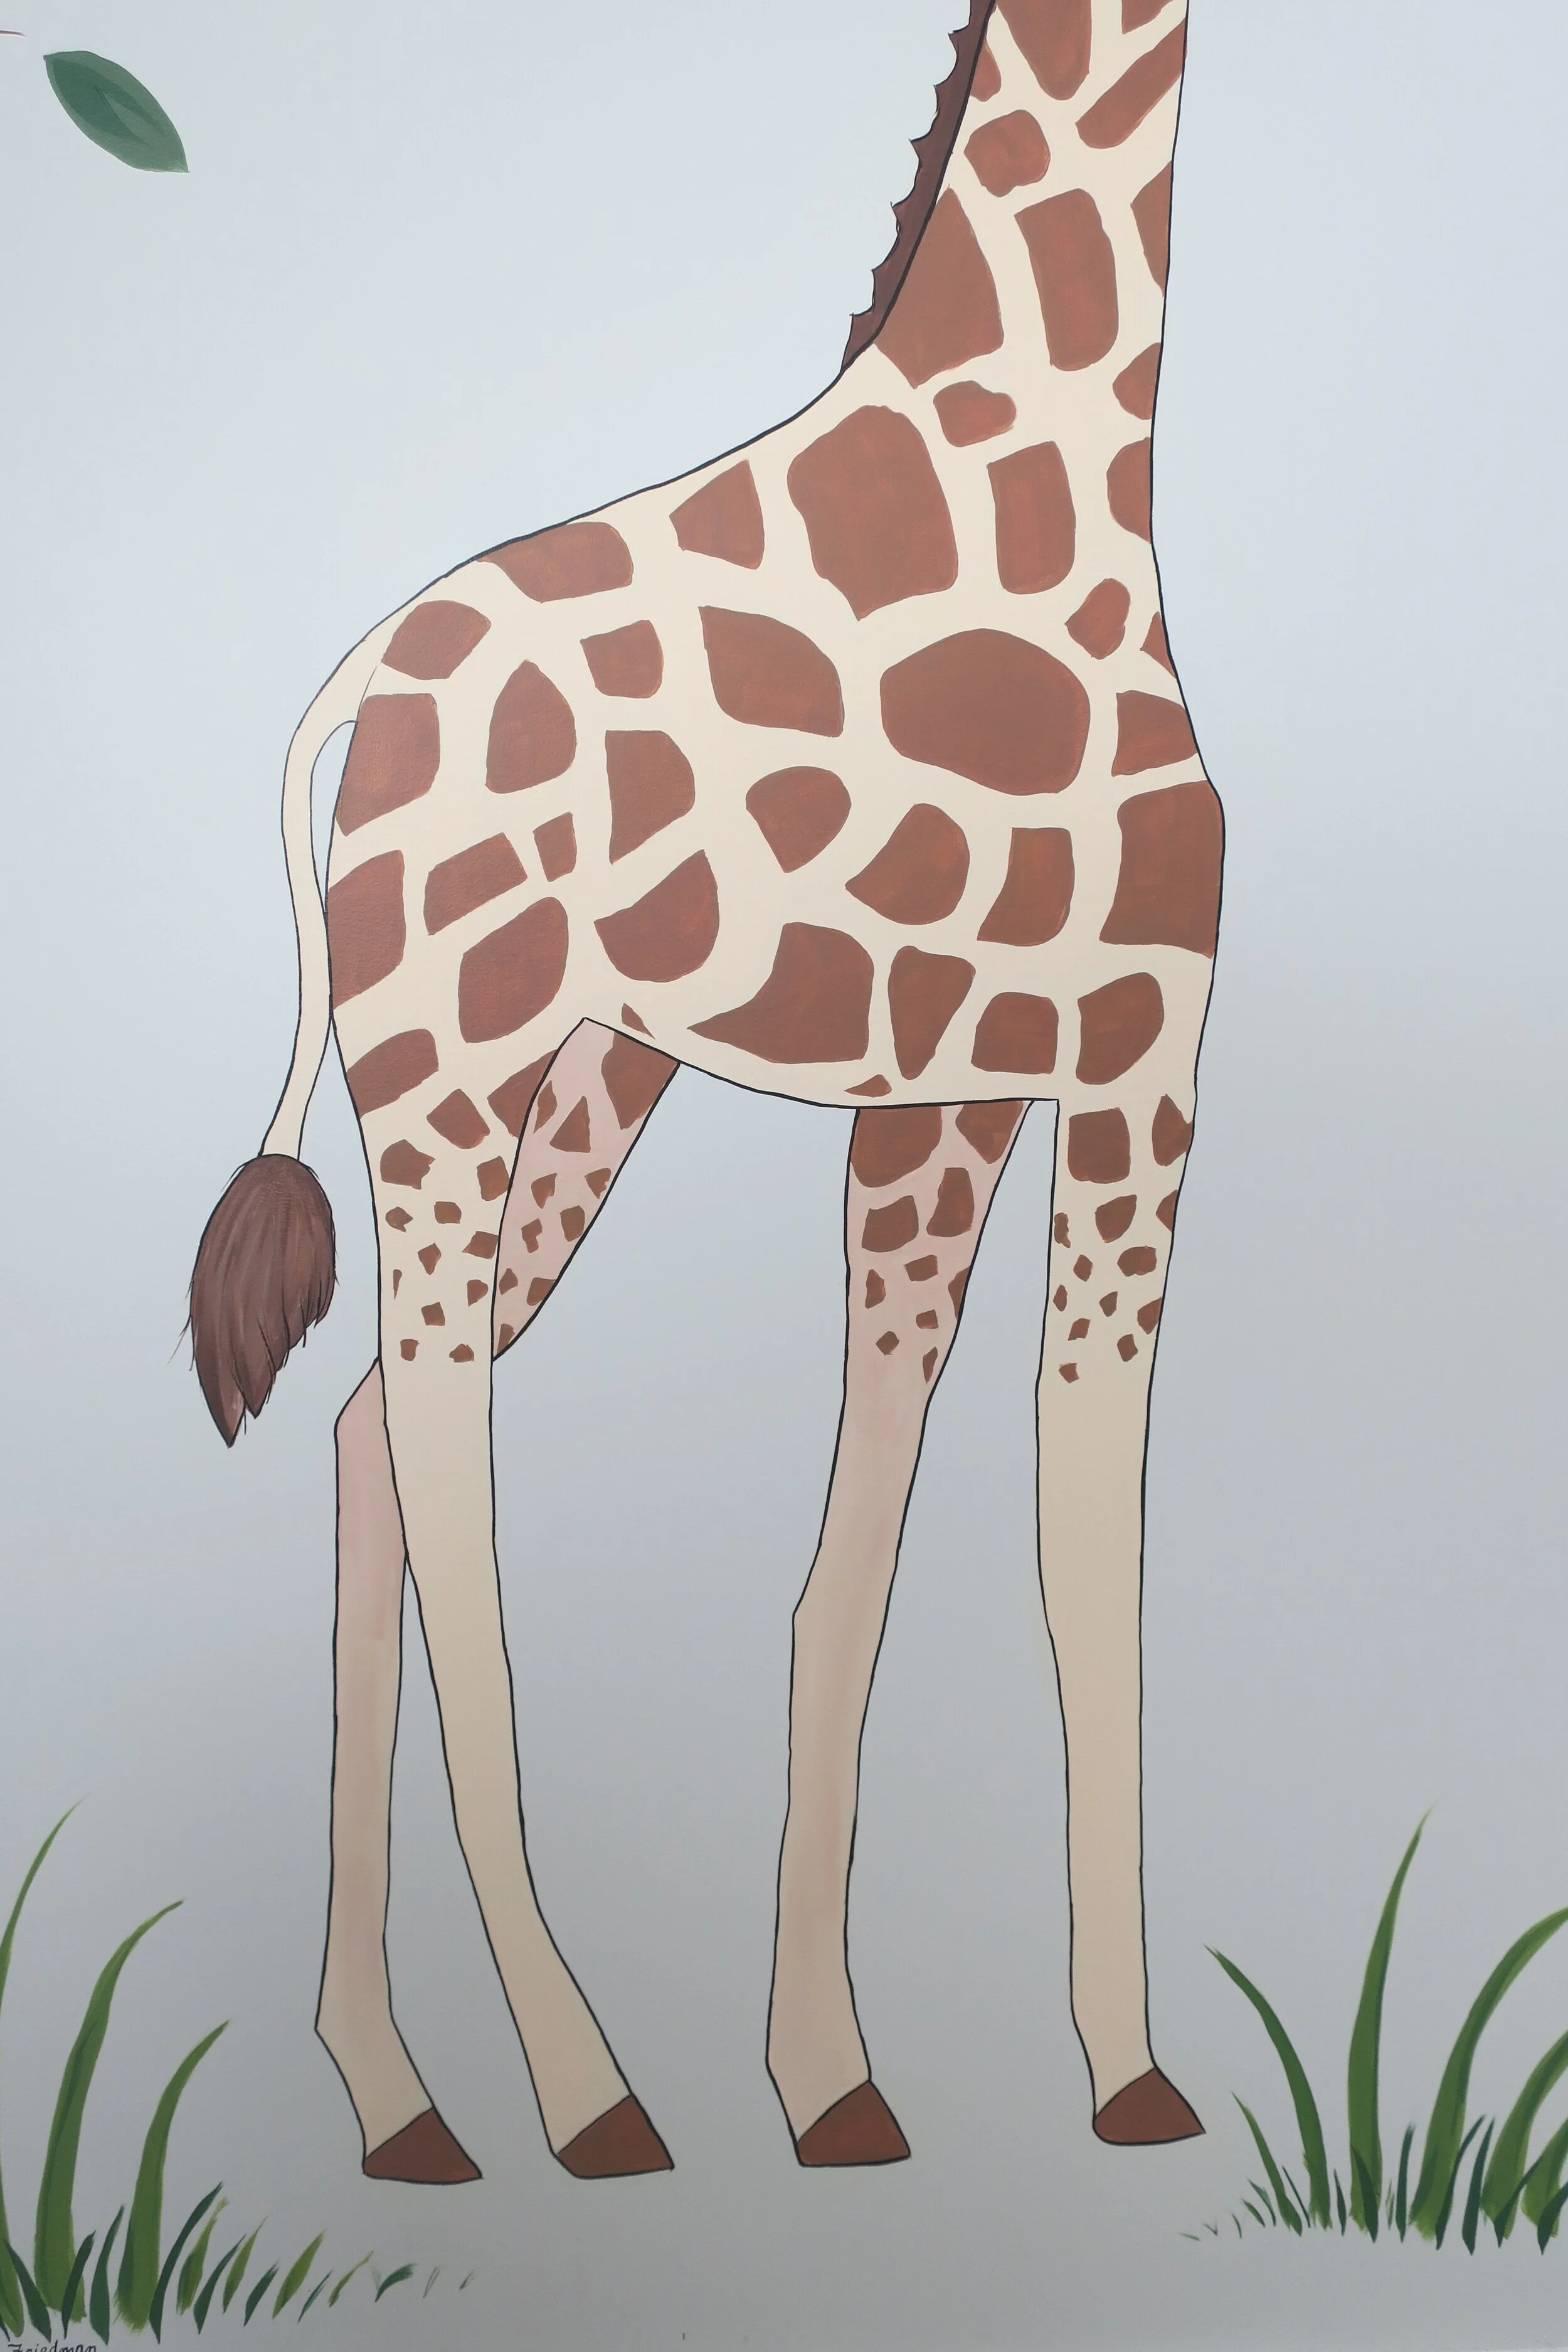
Installation Day One
Projection
Using a projector and my computer, I traced the image using watercolor pencils, which wipe away easily. (If the client can find a spare can of the original wall color, this adds security for later touch-ups, but it was not the case in this instance.)

Beginning the giraffe
Using the pre-mixed paint and an angled brush, I painted the first layer of the giraffe, giving it plenty of time to dry overnight before starting the spots.

Installation Day Two
Finish the giraffe spots
My ultimate goal here was was to minimize brush strokes for a smooth, even finish. This video illustrates well how imperative it is to order one’s painting process based on a reflection of handed-ness. Because I am right-handed, I start from the left and move to the right.

Start koala and tree
Here, I quickly understood the value of having a print-out of the design when so high up in the trees!

Installation Day Three
Add leaves and trees
While I closely aligned my final installation with the digital mockup for the characters, the natural elements like the leaves and trees allow for fun, expressive strokes, and making decisions on the placement of the leaves in situ.

Start monkey and cardinal
Here was where the premixing of color matched ahead of time came in handy. With a disposable artist pallette, I was able to quickly mix colors from my pre-made tones with the standard set of premixed rainbow colors always kept in the Treetown Mural kit.

Installation Day Four
Fill in monkey
Now that the first layer of the monkey’s fur dried, I employed a painting technique called cutting in, which, by overpainting the line on your first layer, allows you to create a smooth finish with no gaps by back-painting slightly over the first layer.

Outline cardinal
Now I could begin to see how the piece would look finalized with black outline, done with a fine liner brush.

Creating the elephant
This figure was the largest and had the least amount of textural detail, so blending colors with smooth brush strokes reflecting the shape was imperative.


Installation Day Five
Grow the grass
The grass, like the leaves, were natural elements that I did not rely on projection for final placement. Using a pallete to mix a range of green hues, I tried to work quickly while still taking time to take period steps back to study how the composition was growing.

Release the butterfly
In my planning processes, I always imagined doing the butterfly last, placing it just so, based on the final mural layout and location of the crib.
Sign it!
After doing the remaining outline of the main characters, I used the same liner brush to finally sign my name.


Final Mural
The completed design, with and without the crib.
Full Mural Installation Timelapse
One of the most difficult parts of this project was remembering to correctly set up my camera to capture a time lapse recording every day!
Conclusion
As a designer, I enjoy working with the parameters and affordances given by a client. Personally, I thought I did a good job on this project. Using UX principals of iterating at very low fidelity before scaling up helped eliminate unnecessary work. Honoring the design rule of ABC - “Always Be Capturing” gave me a robust collection of content that could be used to tell this case study.
Of course, this type of design is subjective when it can’t be tested on a user, and I’ll never truly know if I was able to create a mural design that is neutral enough for future house owners to be compelled not to paint over it. I do know, however, that my client’s were happy! And while creating a mural is, by it’s very nature, the opposite of iterative, I feel I accomplished my personal goal of creating a work of art that could remain inspiring through change.